The Digital Photo Booth for Event Marketing
Boost event engagement and create on-brand UGC with our innovative web-based photo booth platform.
.webp)


.webp)


Katie
Event Manager

Bruno
Designer

Samantha
Consultant III
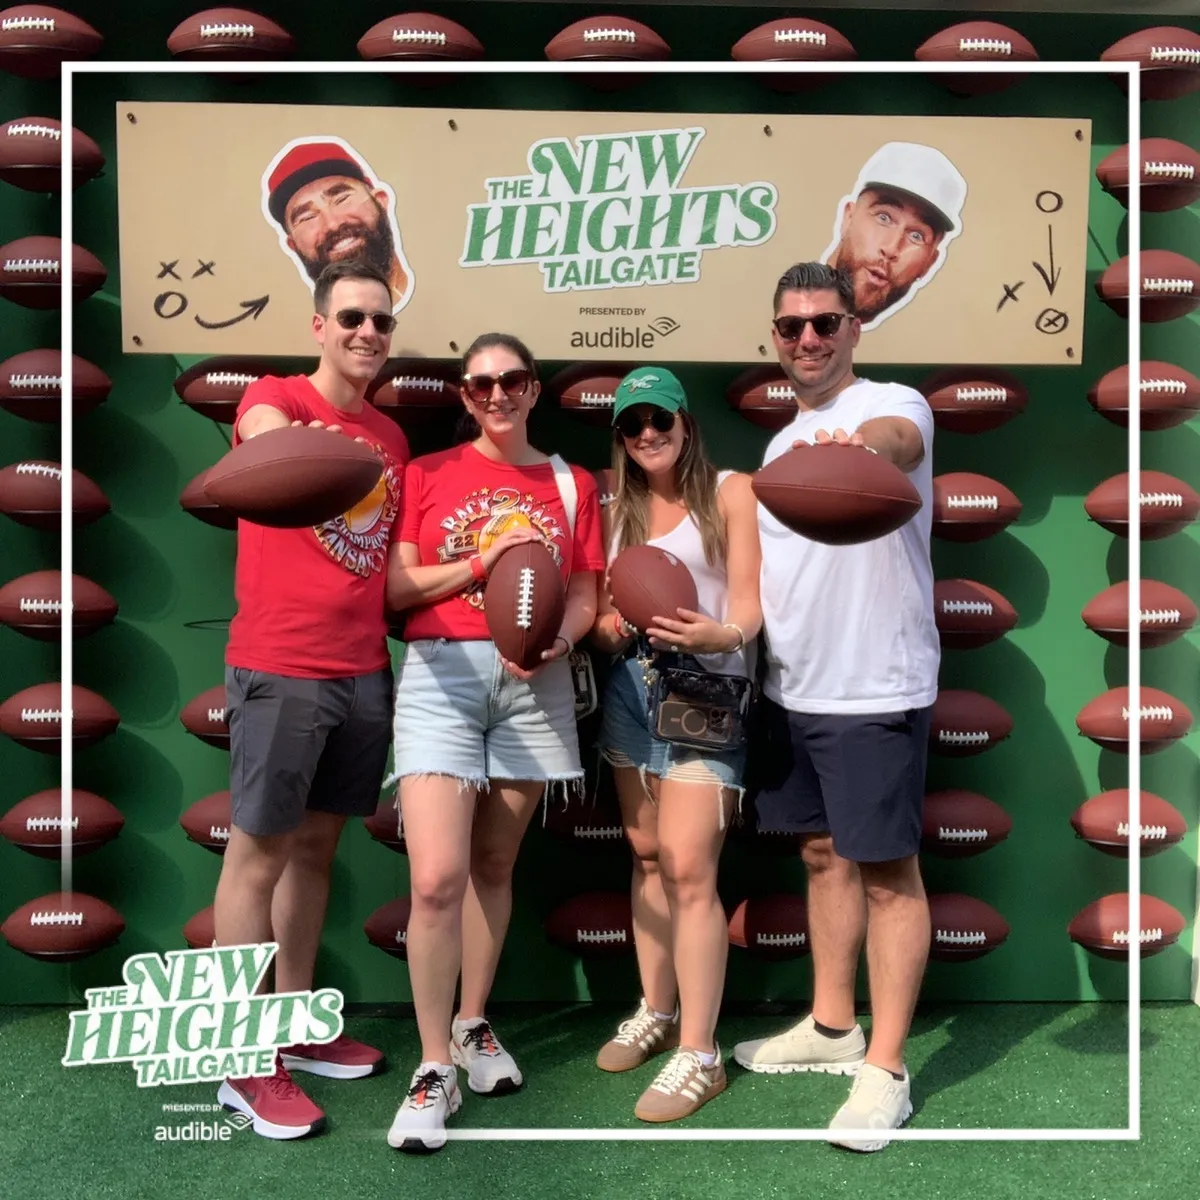
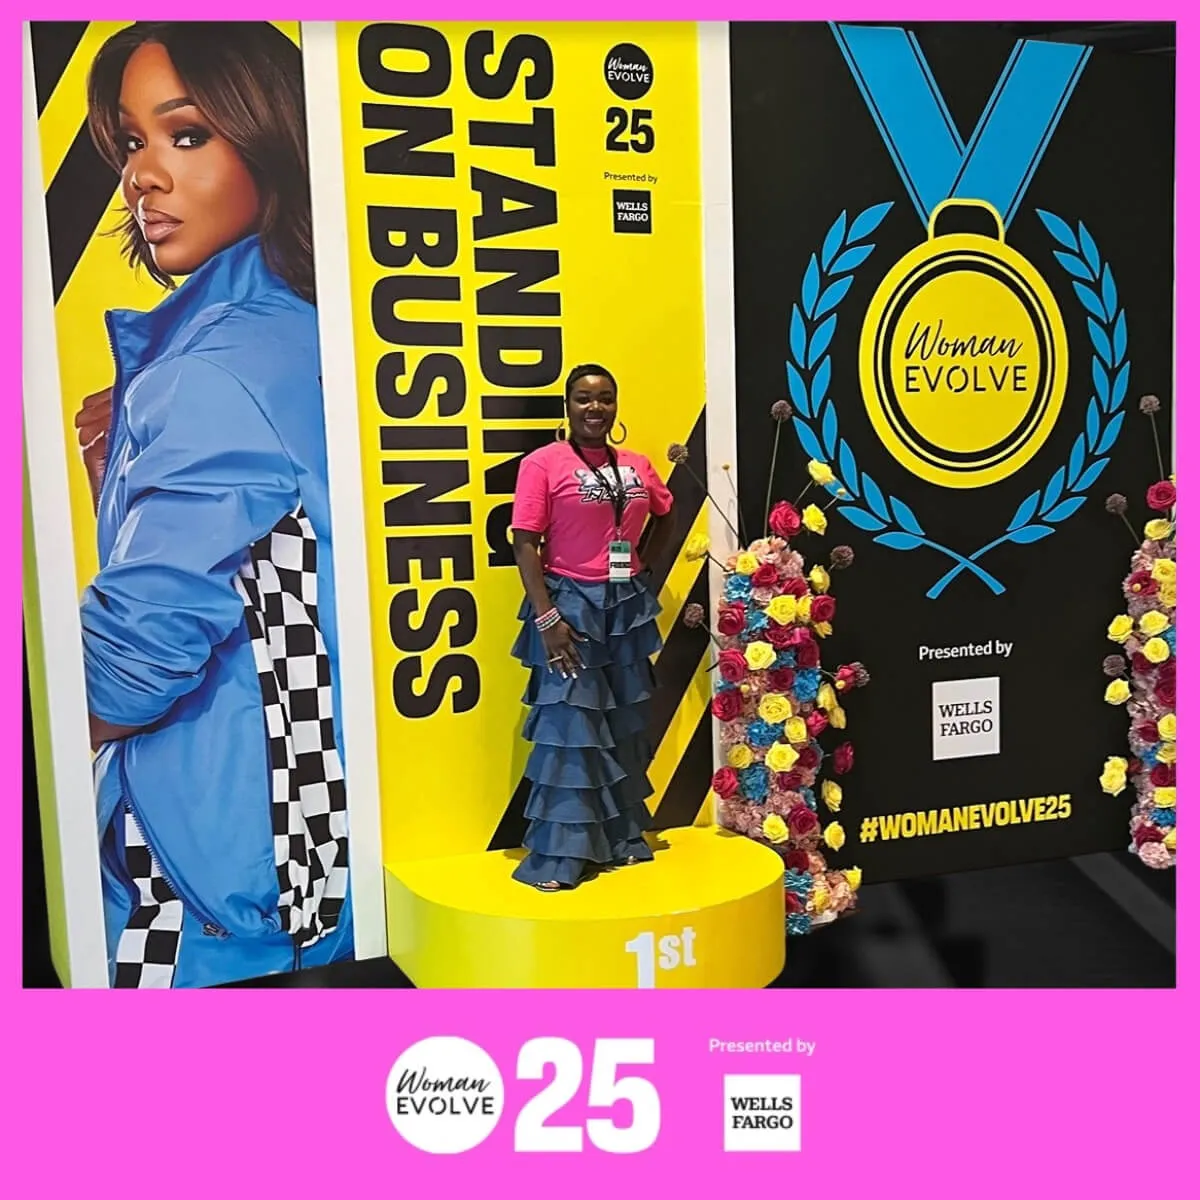
Photo booths are a staple at events but they haven’t changed much - until now.
Our custom microsites provide an intuitive, digital photo booth experience that helps event marketers drive engagement at any event with the latest photo technology.


Snapbar experiences are built for events and designed for brands - giving event professionals the flexibility they need to drive engagement for events of any type.


Elevate any event using a digital photo experience to engage your audience, create positive brand touchpoints, expand social reach, and increase event impact and ROI.
Engage in-personElevate any virtual or hybrid event with a custom web-based experience available as a standalone microsite, or easily embedded into event platforms and webpages.
engage online


-p-500.webp)
With powerful features, and more being added regularly, it's a new way to think about custom photo experiences and UGC at scale.
Monitor your in-person or hybrid events & activations.
Learn more about your audience & collect data.
Share content to any display screen or webpage.
Branded user content, emails, custom micro-sites & much more.
All your content in one place, with real-time moderation.
Intuitive capture, engaging customization, & one-of-a-kind outputs.

Content Amplification: User-generated content fuels marketing narratives, enhancing visibility pre, mid, and post-event.
Social Legitimacy: Organic attendee-driven social sharing legitimizes events, turning moments into momentum.
Integrated Branding: Tailored photo content reflects your brand's unique flair, creating memorable engagements.
Sponsor Spotlights: Integrated sponsor exposure adds value without detracting from the user experience.


Interactive Entertainment: Candid photography fuses with experiential fun, accessible from anywhere in the world.
Stronger Community: Gamification, contests, and highly shareable content spark conversations and participation.
Event Awareness: Pre-event activations drive registrations, while post-event content provides social proof for past and future events.
Brand Awareness: Seamlessly integrated brand promotions and sponsor messaging enhance the attendee experience and the bottom line.
User Awareness: Lead capture and surveys provide invaluable user insights and leads, delivering post-event ROI.

Whether you’re engaging attendees in a traditional event format, amplifying a nationwide marketing campaign, or hyping up your internal team - Snapbar experiences adapt to achieve your goals.
Trade smiles for leads while encouraging connection and sharing in-person, online, and across social networks.


Engage trade show attendees to increase brand stickiness & promote sponsors with integrated photo experiences.


Rally your people around an engaging photo experience that’s fun and easy to access from wherever they work.


Connect your community whether local, national, or global with unique photo-based experiences that are easy to access, and easy to share.


Amplify brand and product awareness with interactive mobile-first experiences that power UGC campaigns.


Turn fans into ambassadors with interactive experiences that generate content and sharing in real-time.


Choose from dynamic display options to showcase content, drive awareness leading to more engagement, and promote social sharing.

Yes, the Digital Photo Booth is fully embeddable. It integrates seamlessly with major virtual event platforms (like Hopin, Cvent, and Swapcard) via iFrame, allowing guests to engage without leaving your event environment.
You have some options! Our dashboard allows you to moderate your content in real-time, and also choose whether you want to only send approved content to the live gallery, or display it all and moderate as needed.
We encourage it! The experience is optimized to work on iPads, using email delivery for the content to provide a seamless in-person photo booth experience.
The main difference is footprint and accessibility. A 360 Spin Cam requires a large physical footprint (10x10ft), specialized hardware, and on-site staff. The Snapbar Digital Photo Booth is a hardware-free, browser-based solution that requires zero footprint, allowing guests to participate from their own phones anywhere in the venue.
No, the Digital Photo Booth requires an active internet connection to function. Since it is a browser-based experience that processes images and uploads them to a live gallery in real-time, guests need cellular data (4G/5G) or WiFi to participate.
By default, it does not, but we reserve the right to charge for overage beyond the originally purchased credits. You can monitor usage in your dashboard, and our team also keeps an eye on usage to let you know if it's getting close - and what your options are.
No app is required. The Snapbar Digital Photo Booth runs entirely in the mobile or desktop browser (Safari, Chrome, etc.), eliminating friction and ensuring high participation rates for your event.
Yes, our Digital Photo Booth is a browser-based solution designed specifically for virtual and hybrid events. Unlike traditional booths, it requires no app downloads or physical hardware. Attendees simply click a link or scan a QR code to take branded photos, GIFs, or bursts directly from their smartphone or computer browser.
There's a few different ways! Foot traffic and participation is a great starting place, with metrics available in your dashboard. We also provide metrics on social sharing and downloads. If you're using a social wall, or integrated social media campaign, we also recommend using 3rd party software to track hashtags and engagement related to the campaign.
Our digital photo booth platform is flexible and designed to work for almost any kind of event. Whether in-person, virtual, or hybrid, there are intuitive ways for your attendees to access the experience and participate. If you want to talk about ideas or get advice on increasing participation, just reach out! We'd love to chat.
You can do this easily in our dashboard - either one at a time, or in bulk.
The microsite is web-based so it can be accessed from anywhere with internet - from phones, desktops, and set up on tablets for in-person engagement. It is also easily embeddable into any digital experience with an iframe. So it can be accessed however you need it to be!
Your Snapbar account isn't deleted unless you request it, so you have long-term access to the dashboard even once the photo booth is no longer active. To reduce server load, we do reserve the right to delete content after roughly 90 days. If you would like it deleted sooner, or later, please reach out and we're happy to help!
We offer extensive branding capabilities. You can customize the landing page, stickers, frames, background removal (AI or Green Screen), and the email gallery delivery to match your event's visual identity perfectly.
The short answer is: it depends! Overall, we suggest booking your activation with us at least 2-3 weeks in advance, but we can, and do, operate on less lead time. Expedition costs may apply if you're operating on more of a last-minute timeline.
Just about everything about the photo booth experience - the microsite, backgrounds, frames, stickers, and delivery email - can be branded or customized to align with your event and brand guidelines. We work with each client to build the experience, ensuring you get the best possible engagement and results!
Browser-based booths maximize participation by removing friction. App-based solutions often require downloads or specific hardware, which creates a barrier to entry. Snapbar's browser-based platform works instantly on any device (iOS, Android, Desktop) via a simple link or QR code, ensuring higher engagement rates for your activation.
Boost event engagement & brand awareness with user-generated content that turns moments into marketing gold.
Subscribe for inspiration and updates